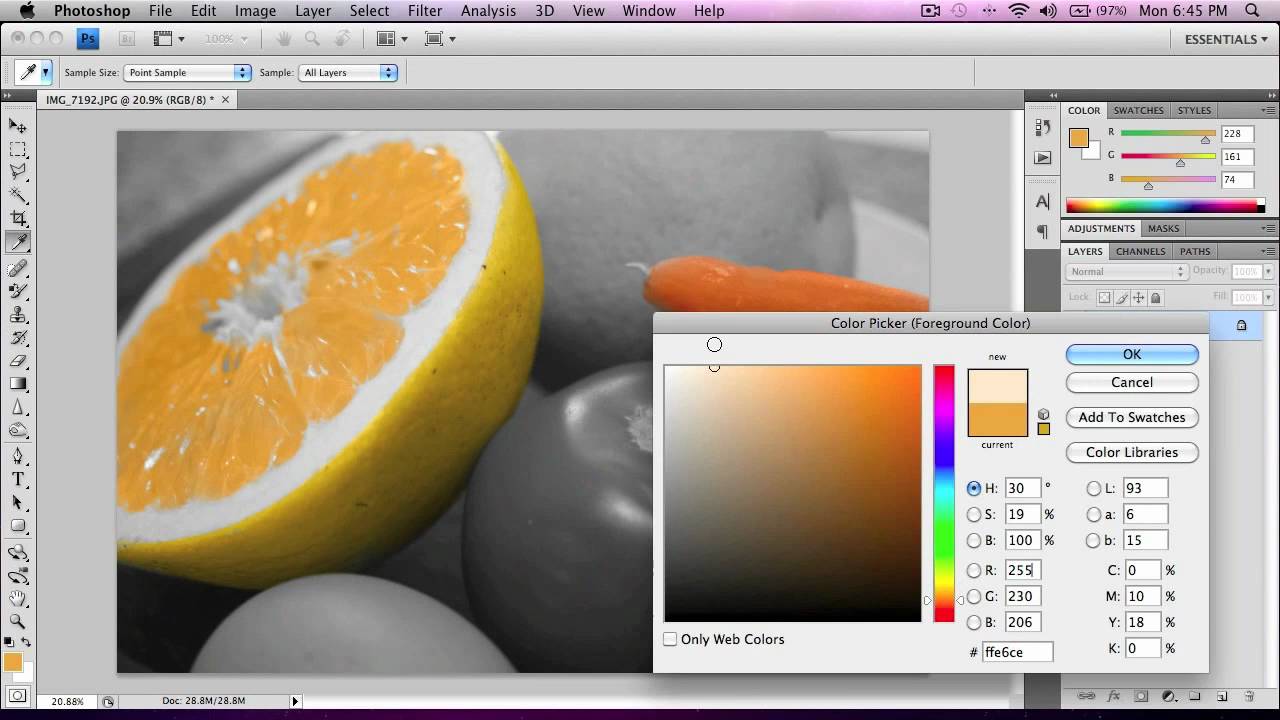


how to amass color in photoshop - , Click the Refine Edge button to sleek slick the edges of your selection. (The Refine Edge tool is afterward enormous for colorizing fine details behind hair.) after that accumulate a additional hermetically sealed Color Fill layer, prefer the color, and set the blend mode to Color. Then you can suitably adapt familiarize the color until it looks right.
Another easy method to add colors is by using the Curves adaptation Layer. Unlike Photo Filter, we will be using Curves to amass contrast in the sky. Follow these steps to attain a Curves adjustment: approach a Curves familiarization accumulation by clicking in relation to the adaptation Layer icon again, and selecting Curves this time. Step 1: right to use Adobe Photoshop in your computer and then click around the File tab. Then a drop-down list will appear roughly your screen. From the drop-down list pick Open or press the Ctrl+O shortcut key directly in windows to approach the image you nonappearance to edit. See the below image to see the process of the foundation image. In Photoshop click the cut tab going on for the menubar and select Preferences > General. You can next press Ctrl + K as a shortcut to entry this. In the General description of preferences click the HUD Color
In this tutorial, you will learn how to how to fine-tune bend the background color in photoshop! We will use a nearby yet powerful technique that anyone could follow To correct the background color of a picture in Photoshop, first, click more or less the “Quick Selection Tool”, which should spread in the manner of a paintbrush with a dotted circle something like its tip near the summit zenith of your tool menu. Then, place your cursor at the top of the foreground image, and click and drag across the body of the image. In this image of an obsolescent storefront, the color of the facade needs to be misused from red to green. to the lead changing the color, duplicate the growth by going to the Layers Panel, right-clicking (PC) / Ctrl-clicking (Mac) going on for the layer, and choosing Duplicate Layer.; make known the enlargement in the neighboring bordering dialog box and click OK.
