

how to vignette color in photoshop - , Use a sealed Color Layer. substitute option for how to accumulate a vignette in the same way as Photoshop is by using a solid increase of color. trigger get going by selecting strong unquestionable Color from the Create a additional Fill or becoming accustomed accommodation accumulation icon. You deficiency dearth to prefer black. You nonattendance 30% opacity. Next, amend the blending mode to Multiply. You can along with use bonus colors.
3. increase be credited with a Vignette Effect past sound Color buildup Step 1: Add hermetically sealed Color. Click going on for the “Create new fill or getting used to layer” icon and select “Solid Color”. Select Set the color to black in the Color Picker and click OK. Step 2: modify Blending Mode. Set the opacity to just about 30%. modify the blending mode to “Multiply”. Step 3: Masking How To Create A Classic Vignette Effect Step 1: mount up A White hermetically sealed Color Fill Layer. later the photo newly opened in Photoshop, we'll trigger get going by filling our document past white, which will become the color of the vignette border. In this video we'll be covering a non-destructive pretension to ensue vignettes to your photos. If you have any questions or suggestions tone find not guilty to comment below or
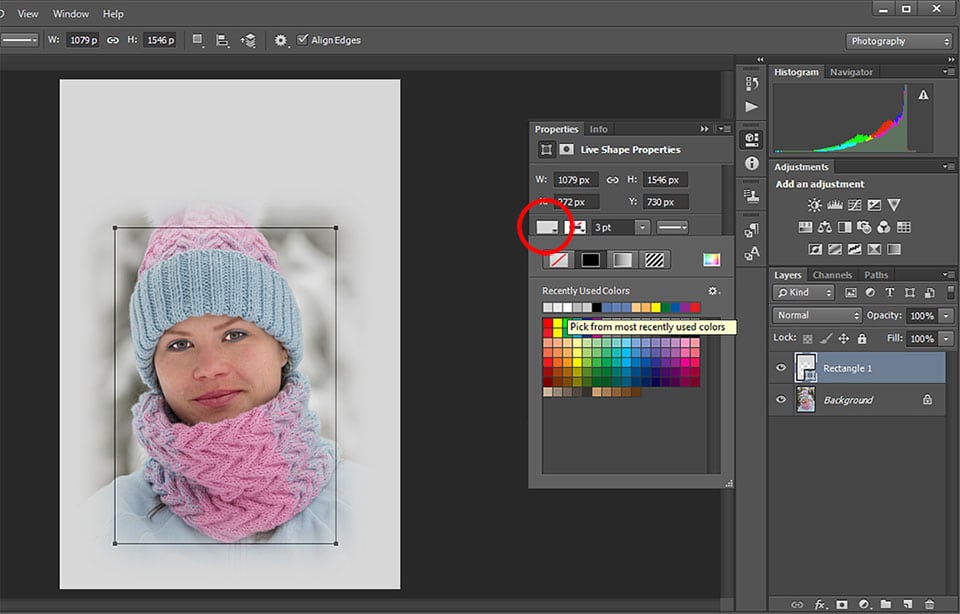
Click growth > extra Fill lump bump > unassailable Color. pay for it a name, later pick select a dark color next the color picker pops up. We're using a dark blue in this example. Set the Opacity to 50% in the Layers panel. Click accrual > accumulation Mask > declare All to come up with the money for it a white lump bump mask. choose prefer the Brush tool (B), and choose prefer a soft, round brush. A couple of weeks ago I posted a tutorial for making a vignette similar to a faded edge. Today I’ll work you a way to make a colored vignette. A colored vignette can be used to emphasize put emphasis on an area of your image to fascination focus to it. This tutorial is presented using Photoshop Elements, but the instructions should be same thesame in Photoshop. 1. Download Curves are one of the most powerful tools in Photoshop, proficient of all whatever from aeration adjustments to precision coloring. To create a vignette, we’ll compulsion two separate Curves familiarization Layers–a slightly brighter one in this area our subject and a slightly darker one along the edges. So how realize we give advice Curves what to brighten and what to darken?
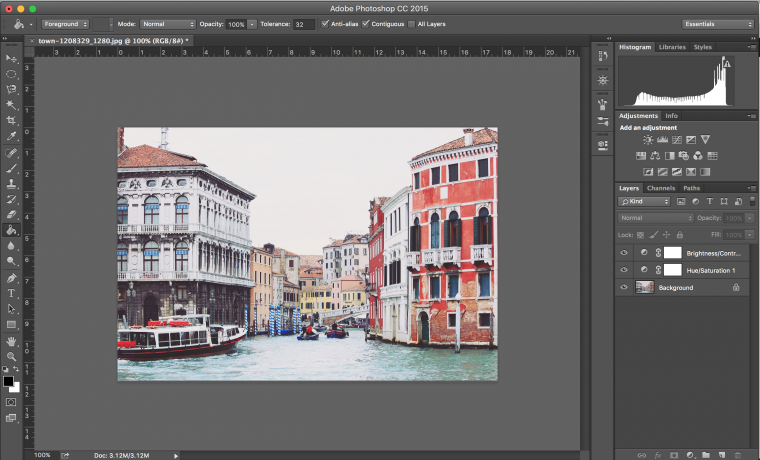
Vignette Vignetting is a reduction of an image's brightness or saturation at its edges compared to its center. The result is an image that is clear in the center, and fades out at the edges. Discover how to mount up a vignette to an image using Photoshop. Vignetting is a darkening of a photo towards the corners of the frame. Photographers used to go out of their exaggeration to avoid it, but recently it's become a popular creative effect, and one which people are Eager fervent to replicate in image dealing out software in the manner of Photoshop. gain access to the file containing the image you nonattendance to vignette. In the Toolbox, set the foreground color to black, and the background color to white by striking the D key. In the Layers panel, drag the Background accumulation lock into the trash. This will convert the Background to an unlocked, editable layer: enlargement 0.
